Monday, 19 October 2020
How to Calibrate a Capacitance Level Sensor

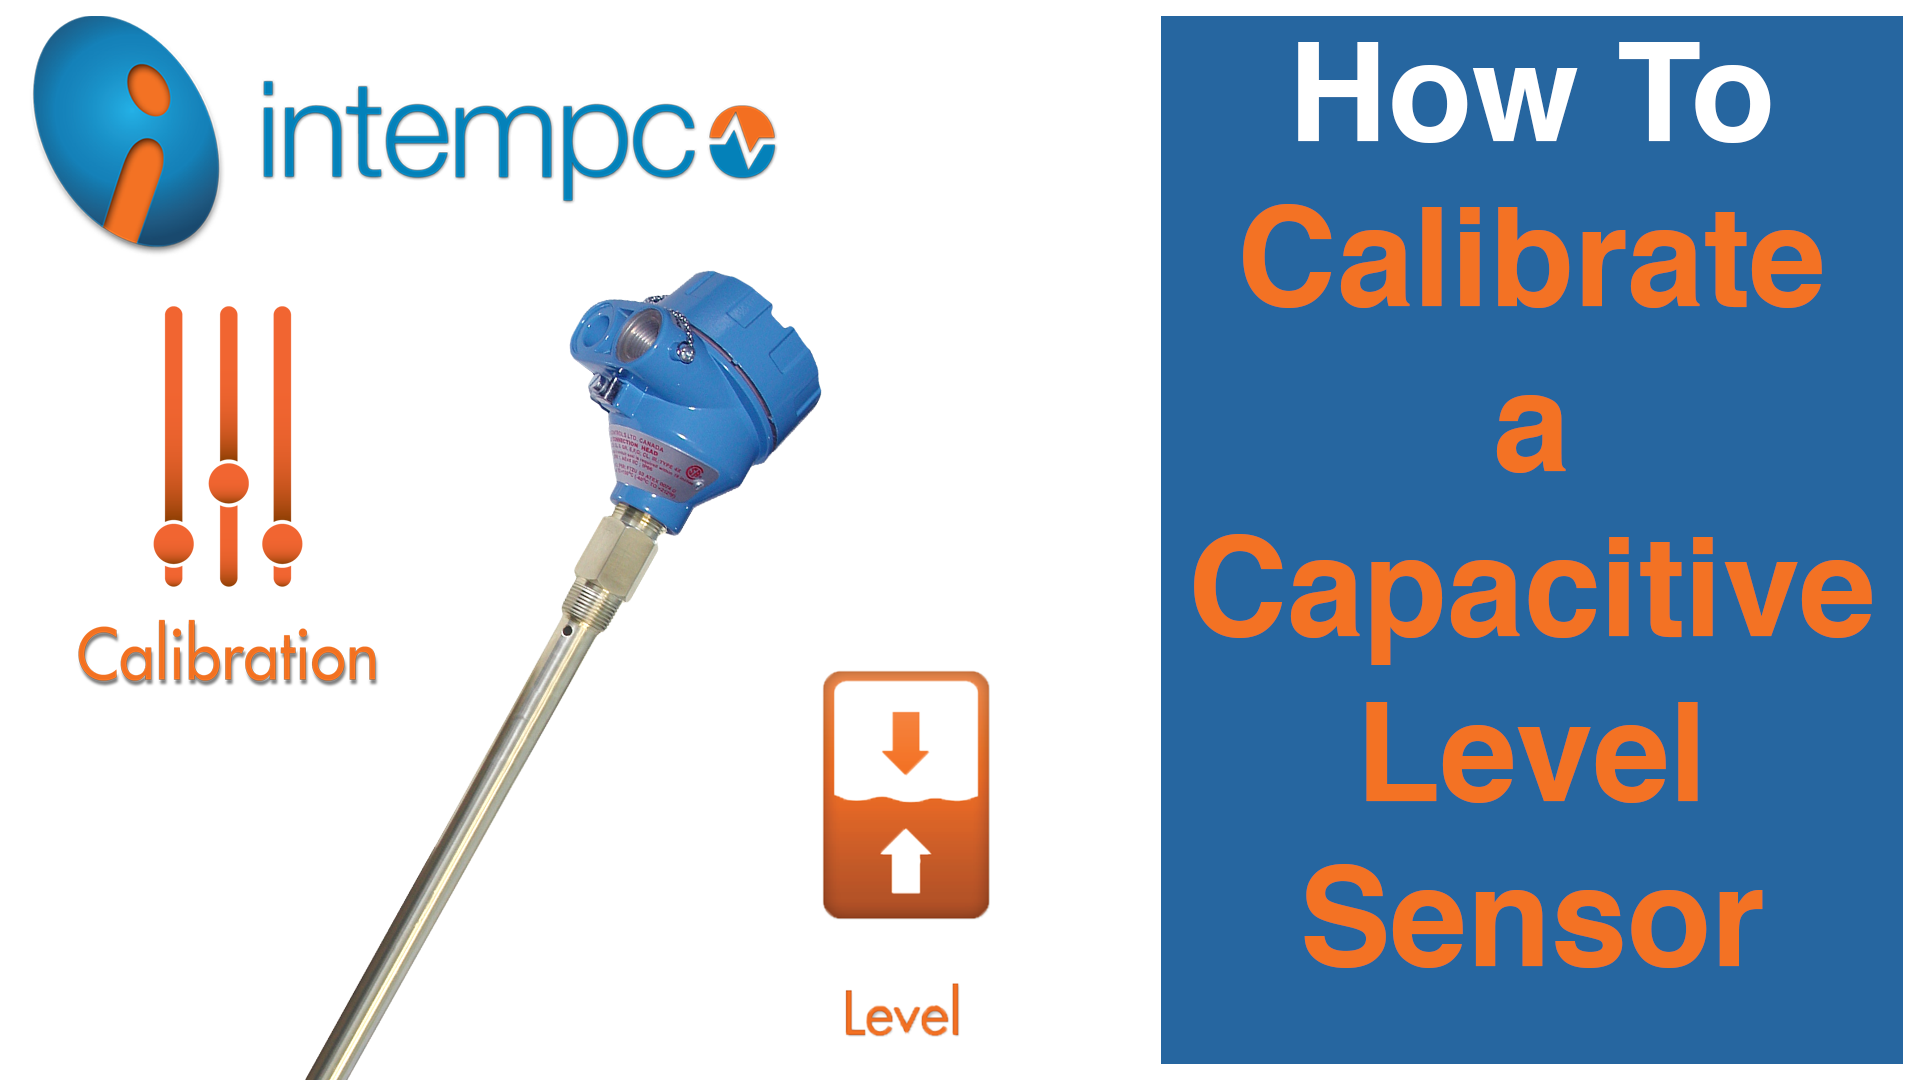
In this post, Intempco will teach you how to calibrate a capacitive level sensor in six simple steps. For a visual guide, watch Intempco’s video tutorial, here.
What is a Capacitive Level Sensor?
The Intempco LTX20 series fuel capacitance level transmitter is designed to measure the level of fuels and oils in metallic and non-metallic tanks. This sensor is a device which is Teflon coated, to optimize performance with caustic substances. The instrument uses a 4-20mA current loop signal, and includes a concentric 0.75 -inch diameter concentric shield with ranges up to 10 feet.
Have a look at Intempco’s capacitive level sensors, here.
How Does It Work?
This instrument is easy to calibrate and use. The sensor’s probe measures level by first measuring the change in capacitance as the tank’s level shifts. Then, the capacitance change is converted into a linear, accurate 4-20mA signal.
How to Use a Capacitive Level Sensor:
Calibrating a capacitive level sensor is quick and easy, and can be done in six steps. Before calibrating your capacitor, take inventory of the buttons and hardware, to first familiarize yourself with the buttons and display you’ll be monitoring.
Step 1: Press “Up” Buttons
To begin calibrating your capacitive sensor, the first step is to connect the loop power supply and ammeter to “plus” and “minus”, and then connecting the other end to the calibrator. Press both “up” buttons, holding down for 3 seconds, then let go.
Step 2: Press ”Down” Buttons
Next, the sensor will have to be placed in calibration mode. To do this, press both “down” buttons, holding for 3 seconds again, and let go. At this stage, there should be no water on the sensor.
Step 3: Press “Z” Until You Reach 4mA
Now, the sensor should be calibrated at its zero point. This is the low scale, and shows as 4mA. To reach this level, press down on the “Z” button until the display reaches 4 mA.
Step 4: Raise Water Level
Once the device gets to 4mA, fill the column with water, so that it can reach the high level of the sensor. This is known as the “reference water”.
Step 5: Adjust Span to Indicate 20mA
After the water reaches the top of the column, it is time to get the appropriate, full scale reading of the sensor, at 20mA. To do so, press the “S” buttons until the device reaches 20mA.
Step 6: Verify Low Water Level Is 4mA
Finally, return the water level to zero, to verify that the low water level is reading at 4mA.
Features of a Capacitive Level Sensor
-
For fuel, oil tanks
-
OEM applications, low cost
-
Compact 3/ 4” NPT concentric tube design
-
Accuracy 1% of span for constant dielectric of material
-
Tube and inner probe SS316
-
For use with metallic and non-metallic tanks
-
Continuous loop powered 4-20mA operation


